
The process of moving files between computers on the network is a very simple one. You simply select the folder to share, and other users will be able to connect to that folder and access its contents.
You can also find your shared folder from the remote computer, control it, and then transfer files between the two computers using Remote Desktop Connection in Windows.
There are different ways you can use the RDP protocol to access your server remotely. The most common way of using RDP is by downloading a small application that connects to your server and allows you to control your server via the app.
You can also use RDP through a web browser by installing the RDP plugin for your browser. RDP is commonly used for remote desktop control of Windows Server computers and is capable of being used with other operating systems.

Transfer Data Between RDP and Local PC
You should not have an issue transferring small amounts of data by drag and drop between RDP and a local computer. In short, there’s no problem transferring or copying data between 1 and 100 MB.
Here, you will face difficulties when you want to transfer a large amount of data (100MB to 100GB) over a short period of time. You’ll have a difficult time doing this if your internet connection is slow.
File transfers from an RDP session to your local PC or to your host PC can be safely and conveniently accomplished by using the Remote Desktop Connection utility.
The primary purpose of this article is to explain how you can transfer files between your PC and server using the Remote Desktop Protocol.
On our Windows Dedicated Servers, there is no FTP server installed by default. So, in this case, if you want to copy files securely between the RDP and local PC, then the easiest way to do it is through a Remote Desktop.
Now without wasting much time, let’s dive into the steps to transfer data between RDP and local PC:-
- First of all, click on Start Menu.
- Then select All Programs.
- After that select Accessories.
- Now you have to select the “Remote Desktop Connection.”
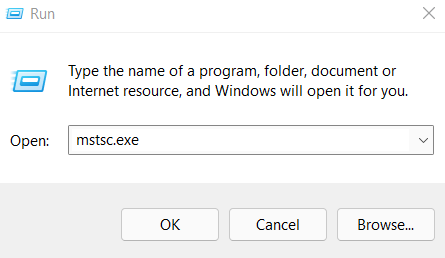
(Note: You can also open the Remote Desktop Connection from the Run dialog box by typing “Mstsc.exe.”)
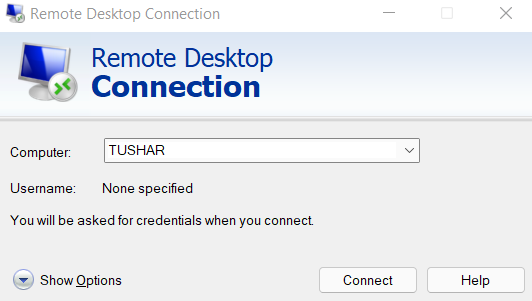
- Now the Remote Desktop Connection box will appear.
- After that, you have to click on the Show options button.
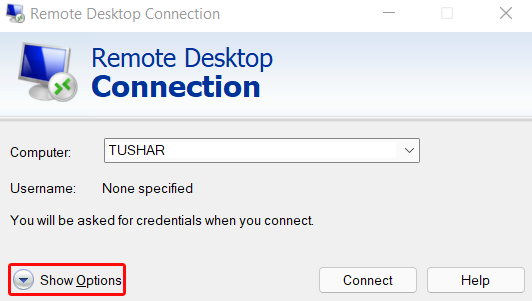
- Now it will display the connection preferences.
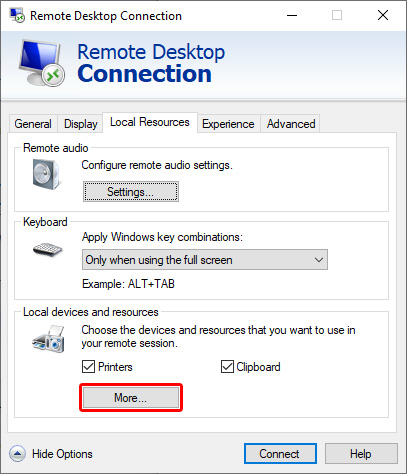
- Then you have to click on the Local Resources tab.

- After that, you have to on the More button.
- Now in the drive overview, you have to select the drives that you need for your remote session and data transfer.
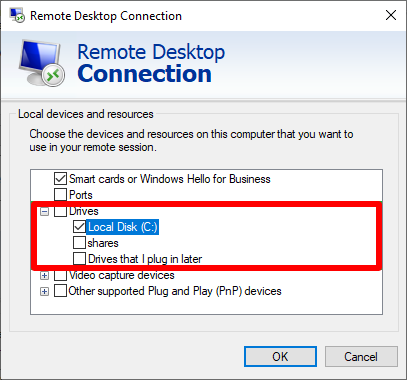
- Once selected, now click on the OK button.
- Now you will get a dialog box to confirm the connection.
- Then you have to click on Connect button.

- After that now on the remote computer and under the “Other” section, you will see the shared drives.

- That’s it, as now you can transfer data between RDP and local PC.
Conclusion
It is also possible to move or transfer data with the help of cloud-based storage services or websites. But, the Remote desktop protocol (RDP) is known for its fast uploads and downloads.
However, there is always the possibility of exploits in remote desktop solutions. The regularly scanned RDP port (3389) is well known for its vulnerability to exploits.
In short, the Windows Remote Desktop should be secured if you have a plan on using it over the internet. Apart from this, you can transfer data for free and securely via cloud storage services.