
The world has embraced remote work culture to maintain safe distance amidst Covid-19. Hence, IT teams have been assisting other departments by taking remote access. To allow an IT professional to help you virtually, you should know how to enable Remote Desktop on Windows and macOS.
Earlier, one had to install third-party apps to pass remote access to the other person. Of course, this feature can be activated via the control panel, but users who are less tech-savvy prefer to use third-party applications because they don’t want to take any chance with their default control panel settings.
But the situation has changed as you can now enable Remote Desktop on Windows 10 very easily. There are two ways to do it, and this guide will cover both of them so that you can choose the best one suitable for you. So let’s get started:
Method 1: Enable Remote Desktop on Windows 10 using Settings
| Important information: Please note that you can enable Remote Desktop through Settings only if you are using Windows 10 because previous versions do not support this method. So if you are using an older version of Windows, either update to Windows 10 or scroll down to method 2 to learn how to enable Remote Desktop on Windows with a lower version. |
- Go to the ‘Settings’ app on your Windows 10
- Tap on ‘System’
- Click on ‘Remote Desktop’
- Turn on the toggle button given for ‘Enable Remote Desktop’
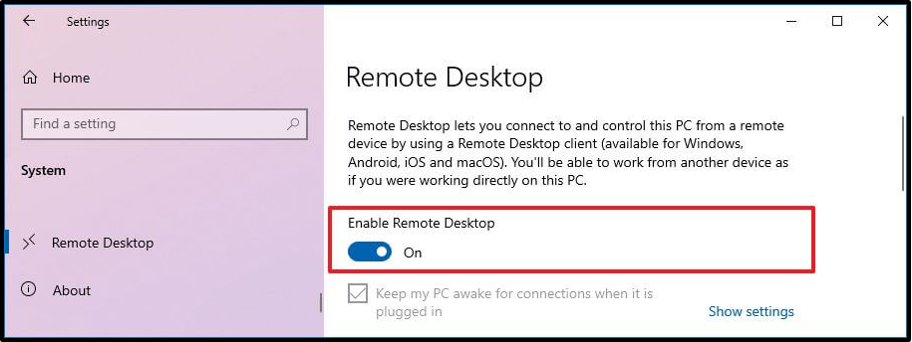
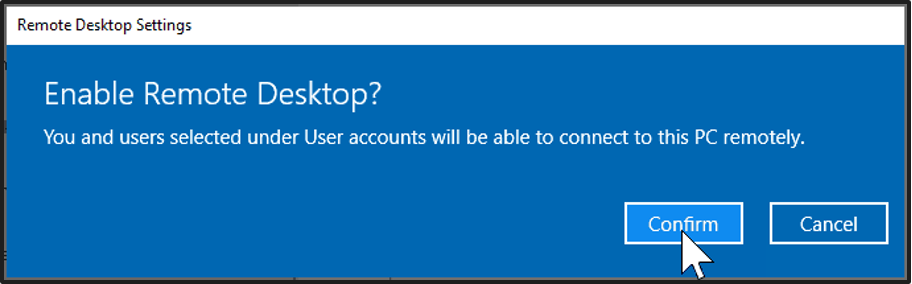
- Hit the ‘Confirm’ button.
After completing the above steps, use the Remote Desktop to connect with your preferred device. Here are the steps:
To connect with a local Windows PC, type Remote Desktop Connection in the search bar of the taskbar. Now, click on the Remote Desktop Connection and enter the name of the PC with which you want to connect. Now, tap on Connect.
To connect with a Windows, Android, or iOS device, download the Remote Desktop app from the app store like Microsoft Store, Google Play, Mac App Store, etc., and open it. Then add the name of the PC with which you want to connect and then wait for the successful connection.
Here are some pro-tips:
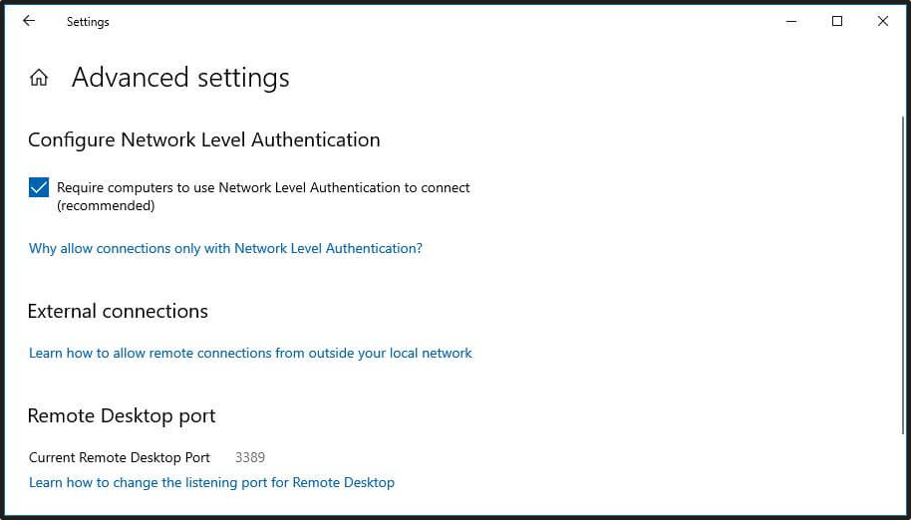
- Navigate to the ‘Advanced settings’ page and enable the ‘Network Level Authentication’ to secure each connection you establish.
- In case you want to establish remote connections outside your network, click on the Current Remote Desktop port of the advanced settings page. In case nothing happens, set the port number to 3389.
Method 2: Enable Remote Desktop on Windows 10 using Control Panel
Another method to enable Remote Desktop on Windows 10 is to use the control panel of your system. Don’t worry, we will tell you how to enable RDP in an easy-to-comprehend manner. Here are the steps:
- Open the ‘Control Panel’ in your system
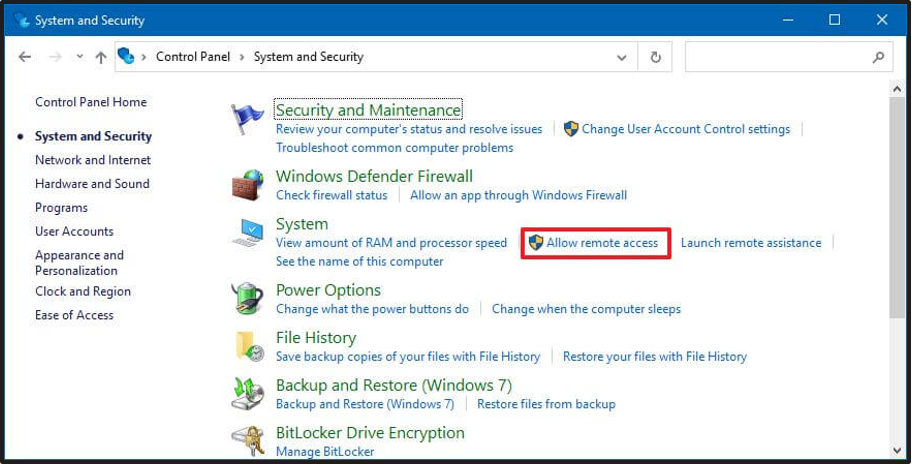
- Tap on ‘System and Security’
- In the ‘System’ section, click on ‘Allow remote access’
- Come to the ‘Remote Desktop’ section, click on the radio button given for the ‘Allow remote connections to this computer’ option
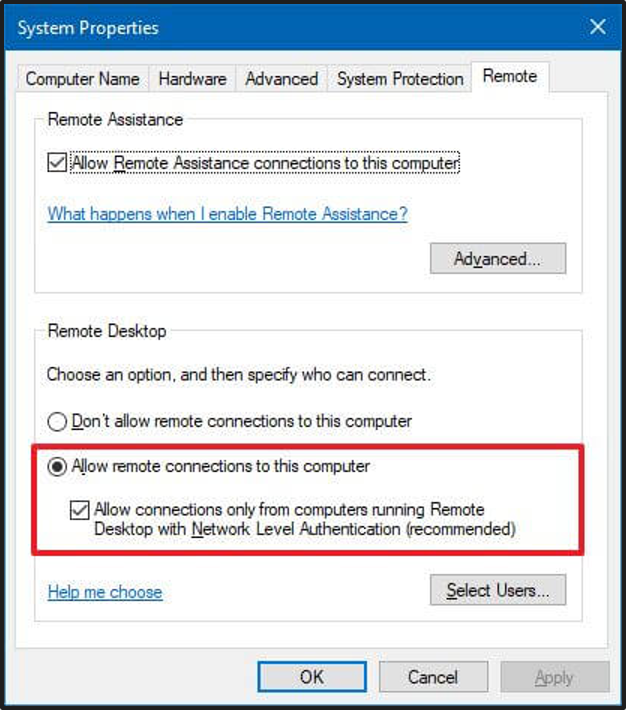
- Click on the ‘Apply’ button
- Hit the ‘OK’ button
Please bear in mind that when you enable Remote Desktop on Windows 10 by using the Control Panel, ‘Network-Level Authentication’ gets activated automatically. Don’t worry, it is beneficial because it will help you establish a secure connection while passing the remote access to another person.
Conclusion:
Being able to pass or get remote access is crucial these days because you may need it to complete your work. In addition, it leads to better collaboration and higher productivity.
In this guide, we have highlighted two easy methods that will help you to enable Remote Desktop on Windows 10 in no time. Hope you have found this guide helpful, and it would be great if you tell us in the comment box below which method you will use to enable Remote Desktop.
If you think this guide can make a difference to your friends as well, do not hesitate to share it on social media platforms so that maximum people can benefit from it.
If you love to read well-written guides to boost your knowledge, you should definitely check out our blog section right away 🙂
Thanks for being with us till the end!